
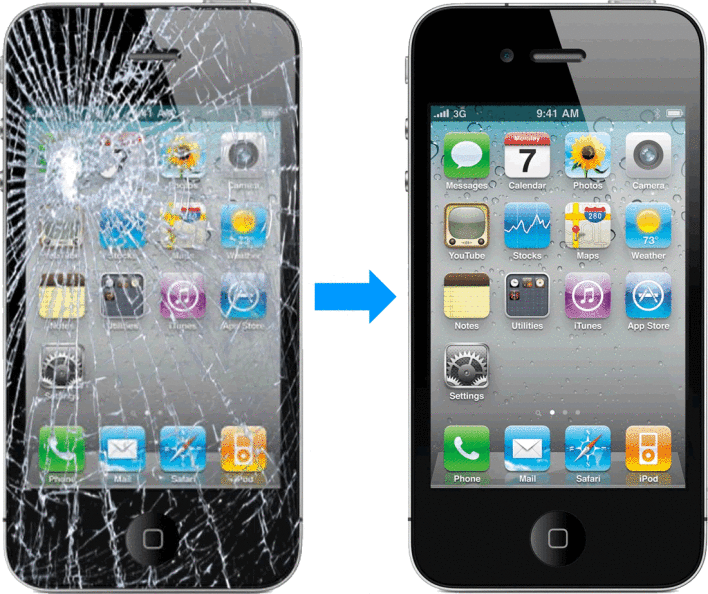
Apple builds their flagship devices with great care and makes them able to withstand a lot of wear and tear. But people do treat them like they are made of an indestructible material and throw them around a bit, which of course they aren’t and so the occasional cracked display will arise.
There are many tech-heads, which make it their job to tear down beautiful devices, such as the iPhone 5 and see just what makes them tick. Take the guys over at iFixit for instance, they have very nicely supplied a guide to replacing the screen, if you feel like you are up for the challenge, that is.

The technical writer, Andrew Optimus Goldberg, claims this (warranty-voiding) repair for the iPhone 5 is, in fact, reasonably easy to do.
To undertake this repair, you are going to need a few things. First of all you will have to buy a new display assembly. You can purchase these online, just look on the web, and maybe check out eBay. Additionally, you will need a 3.6 millimetre five point (Pentalobe) screwdriver, a Phillips #00 screwdriver, a small suction cup and a plastic prising tool.
Ok, now you have your kit laid out on a nice big, flat table with lots of room to work, open the iPhone’s case. You do this by removing the two five-pointed screws between the speakers on the bottom of the phone. Press the suction cup onto the glass, close to the home button, and pull upwards. Next, insert the prising tool in the crack you have just made. You now need to keep pulling and detach the clips, which hold the screen on and then work your way up to the top, but be careful not to open the assembly fully.
Now you want to remove three screws located at the top-right corner and use a small Phillips screwdriver to detach the small, silver metal bracket holding to logic board. There are three cables, which need to be removed from here. You can use the prising tool to remove them. Now you can fully remove the panel assembly.
You now need to disassemble the front panel. This is done by removing the earpiece bracket and the speaker. Look for the camera sensor cable and remove the camera and rear microphone as one unit. Now take the screws off the home button bracket and lift the ribbon cable off the touch panel assembly. Now remove the bracket and the ribbon cable and prise the home button loose.
Once you have accomplished these tasks you can remove the aluminium plate that covers most of the back of the display assembly and then transfer the working parts that you have just removed from your old panel and put them into the new one. All you need to do now is completed the procedure in reverse! Don’t panic, everything should fit back into the same places. Just ensure that all the connections are reattached accordingly.
[Image via iphix]
SOURCE: http://www.wired.co.uk/magazine/archive/2014/06/how-to/fix-iphone-display