
How To Use The Magic Wand Tool In Photoshop
How ToPhoto and ImagePhoto and Image Editing September 30, 2014 Scott Lee
For most users, just adjusting the tolerance will give you the desired effect but if you find getting just the right selection is proving too hard using just that, there are other options. The anti-alias box is set as on by default, this smoothes out the edges of your selection, so if for some reason you have a selection that should have a jagged edge, following the perimeter of an object that is quite jagged, try deselecting it. Very useful on the occasions it is needed.
The Contiguous option is also ticked on by default. Contiguous just means next to each other, so deselect it and the wand will choose all the pixels within that range, not just the ones that are next to each other, which can again, be very useful.
Once you have selected the wand tool and set your tolerances, you just left click on the area you want to select and the wand will try itís very best to draw a selection around it. A little trial and error with your tolerances is generally required, it might be magic, but it canít read your mind.
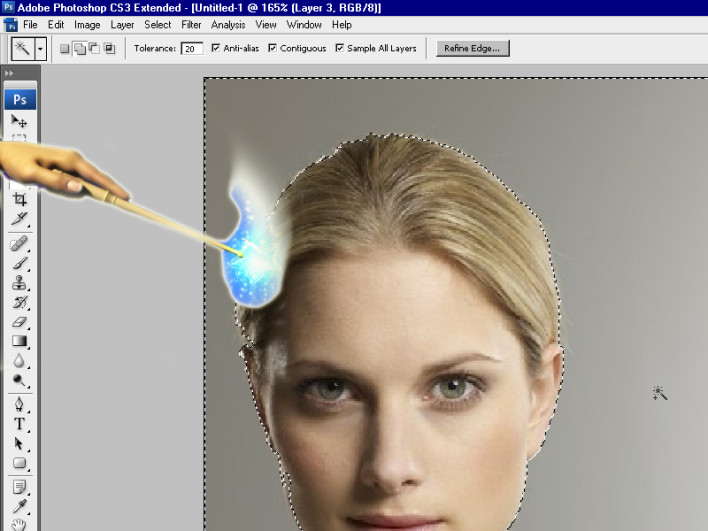
Once the selection is made, Photoshop creates a path around it that can then be manipulated as you see fit, or just used as a mask to isolate the area you need. Try opening any photo and using the wand tool on different elements within it, you’ll soon be moving things around as if you had, well, a magic wand.
[Image via Russ Payne]