
How To Change Faces in Photoshop
How ToPhoto and ImagePhoto and Image Editing October 7, 2014 Scott Lee
Photoshop is capable of amazing things, you can literally create anything, or change anything into anything, but let’s be honest, all a lot of people really want to do 90% of the time is to put someone else’s face into a photo. Here’s a very simple way to do it in under a minute using Photoshop.
No skills are required, but it would be useful if you can use a mouse and left click. The process applies to putting anything into a photo really, but let’s use faces as the example. Open Photoshop. Open the photo you want to change, call this photo one, open the photo that contains the face you want to add, we’ll call this photo two. It helps if the face you are replacing is vaguely facing the same way as the one you are replacing it with; consider flipping it if it isn’t.

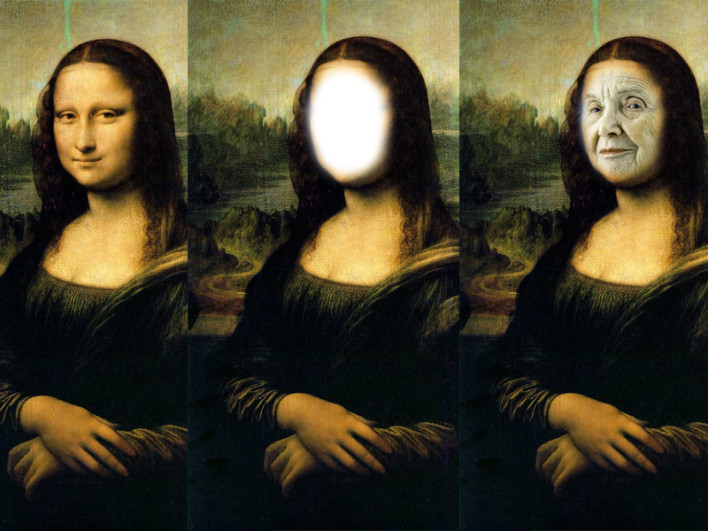
Altering a masterpiece may take a little longer using this technique, but you get the idea.
Now copy photo two, the whole photo, and paste it in as a layer underneath photo one. Don’t worry about sizing or position yet. Now select the eraser tool in Photoshop, it’s the eleventh one down on the left, it looks like an eraser. When you click on it, at the top you will see the options, you just need to choose a brush size thatís slightly smaller than the face you are replacing, you can alter this using a slider that appears when you hover over the little arrow next to the brush size of the eraser at the top left. Under the brush size slider (Master Diameter) is the slider that softens the edges of the eraser (Hardness) slide this just over halfway to the left so you have a nice soft edge to blend the two faces.
Take your newly defined eraser tool and delete the face in photo one, if the face lends itself to doing so, leave the ears and top of the head, just delete the facial features, nose, eyes and mouth. Where you delete it should show the photo two underneath. Select the photo two layers and move and resize it until the second face shows through the hole you just made in photo one. It might take a little experimentation to get the result you want.
Once it’s positioned, if the colour is a particularly bad match, just alter photo two (Image, Adjustments) tweaking the Hue, Saturation and Brightness until it matches a little better.
You can now get to work ruining your family album, or replace the Mona Lisa with Aunt Ethel, just don’t blame me if it goes viral.
[Image via Russ Payne]