
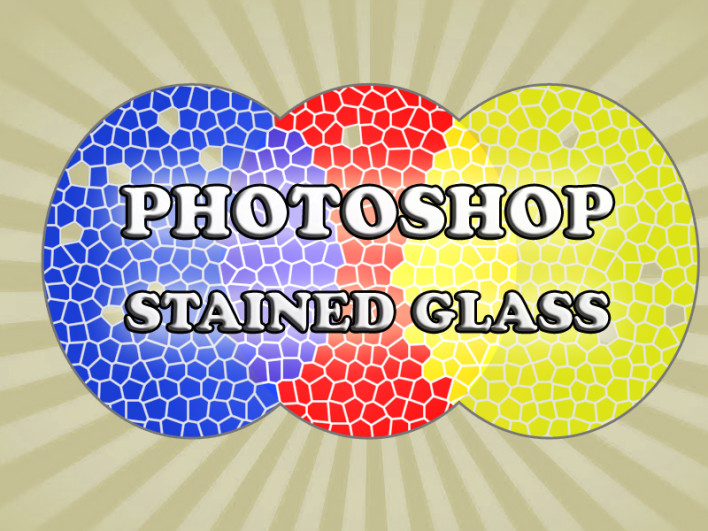
How to use the Stained Glass Filter in Photoshop
How ToPhoto and ImagePhoto and Image Editing October 31, 2014 Scott Lee
Undo your first attempt at Stained Glass and start again, choose Filter, Texture and Stained Glass and look at the options you can alter. The first one is cell size. This can be set between 2 and 50, where 50 is a single cell and complexity increases as the number lowers. For abstract effects, a high number, for a filter where you want some idea what the original image was, a lower number is needed.
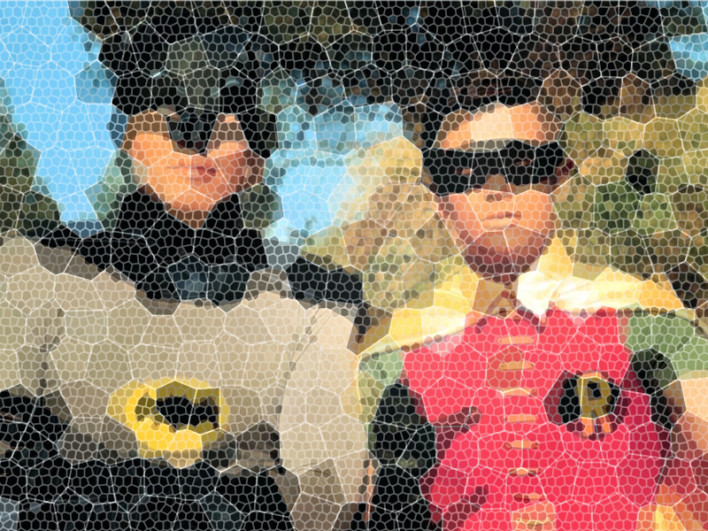
Under cell size is border thickness. Thinner looks better generally, but it’s nice to have the option. There are only three variables to this filter, and the third one, light intensity, is essentially useless, set it to zero, all it does is apply a lighting effect to the middle of your image, something you would, if you did desire a lighting effect, be better doing separately where you have more control of how it looks.
Don’t give up on the filter just yet, there’s more you can do with it. Once the filter is applied, it creates easily manipulatable segments, you can easily select the border colour and remove all the borders, or select individual segments and remove them. This can be an unusual way of obscuring elements of an image or photo. Try duplicating a layer, then applying the filter to one of the layers, then altering the opacity of the other so the original image shows through for another interesting effect. Then try offsetting the filtered layer just nudging it a few pixels to one side for a great weird depth effect.
As with all default filters, just using one click to apply it is never a good idea, but with a little understanding of how it works, and using the filter as just one step of a process, you should find there is some life in the Stained Glass filter yet.
[Image via Russ Payne]