
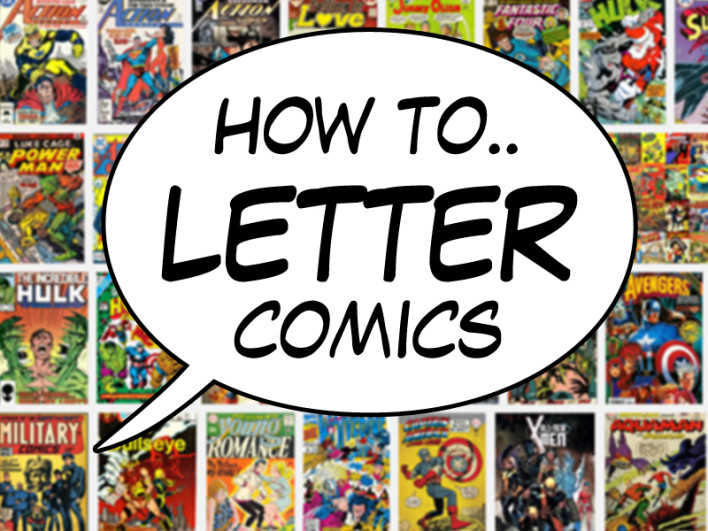
How to Letter Comics in Photoshop
Digital ArtHow ToPhoto and ImagePhoto and Image Editing September 11, 2014 Scott Lee
Once you have your font, type the text on your comic page for every word balloon you need, this will help you decide text size and positioning. A uniform text size across the page is easier on the eye and allows you to create more impact when you use emphasis with bold or larger text or sound effects. Make sure to leave room around the text for the balloon. It’s also important that the order of the balloons is obvious to the reader, so reading left to right, top to bottom across each panel in order of any conversation.
Now your text is positioned, choose a layer underneath your text, click on the left hand shapes menu and choose the ellipse tool. Draw a white background ellipse around your first piece of text. Now choose Edit, Transform, Warp and if it needs it, nudge your balloon shape to fit around the text and art.
Choose a layer beneath the ellipse, then click on the left hand shapes menu and choose the polygon tool, change the sides attribute at the top of the screen to 3 for a triangle and draw a simple white triangle. Now choose Edit, Free Transform and position, rotate, then thin out your triangle so it protrudes from your balloon at a pleasing point and angle. If you would like your balloon tail to curve, choose Edit, Transform, Warp again and bend it towards the character that is speaking.
Merge the ellipse and polygon shape layers and right click on your newly created layer. Choose Blend, Stroke and choose an appropriate thickness for the outline of your balloon, choose black as the Stroke colour and confirm.
All that’s left to do is link the text and balloon layers and you can nudge and fine tune the positioning of this balloon and get to work on the next one.
This should produce professional looking lettering on your comics using Photoshop.
[Image via Russ Payne]