
How to use Puppet Warp in Photoshop
How ToPhoto and ImagePhoto and Image Editing February 13, 2015 Scott Lee
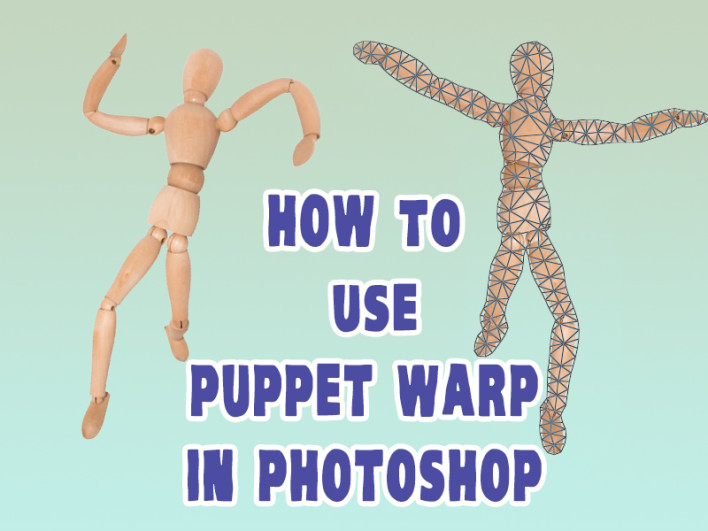
Introduced in Adobe Photoshop CS5, the Puppet Warp tool is just one of the many ways you can transform an object, but it’s probably the quickest and easiest path to a slick end result. Unlike the tools that allow you to play with the edges and aspects of an object, Puppet Warp goes the whole way and breaks down your object into triangles. The clever thing about this is that Photoshop then transforms the image triangle by triangle, giving a lovely mathematical progression to any object transformation you do, and thus making that transformation more convincing.

You can apply Puppet Warp to an entire image, but it only really comes into its own when applied to an object layer sitting over a background, so for instance taking a face and shifting the cheekbones and eyes, or a figure and moving the arms and legs. If you have a figure to transform, it allows you to shift the position of the head, arms and legs to convincingly take a person in one pose and move them into another, like a puppet, hence the name Puppet Warp.
Open an image and create a layer that isolates an element of the image as an object or as a mask. Choose your masked layer and choose Edit, Puppet Warp and Photoshop will create a mesh of triangles over your object. You can increase the number of triangles to give a more detailed warp if you wish.
Now you need to anchor points by setting pins. Just left click on any point you want to use as a pivot or depth movement point, so for instance on a figure you might start by pinning the knee, hip, should and elbow joints.
Once you have set your pins, click on any pin and see how you can move it around, it will move in relation to the other pins, so if you have set a shoulder and an elbow pin, then pin the hand and move it, the arm will move naturally, manipulating the figure just as if it were a puppet.
You can reposition, stretch and alter the depth of individual elements, even moving them in front of and behind each other by clicking the icons on the top bar. When you are satisfied, apply the transformation and your mesh of triangles will fade away leaving with your object in a new position, you are now a puppet master and a master of the Puppet Wrap.
[Image via Russ Payne]